Kubernetes
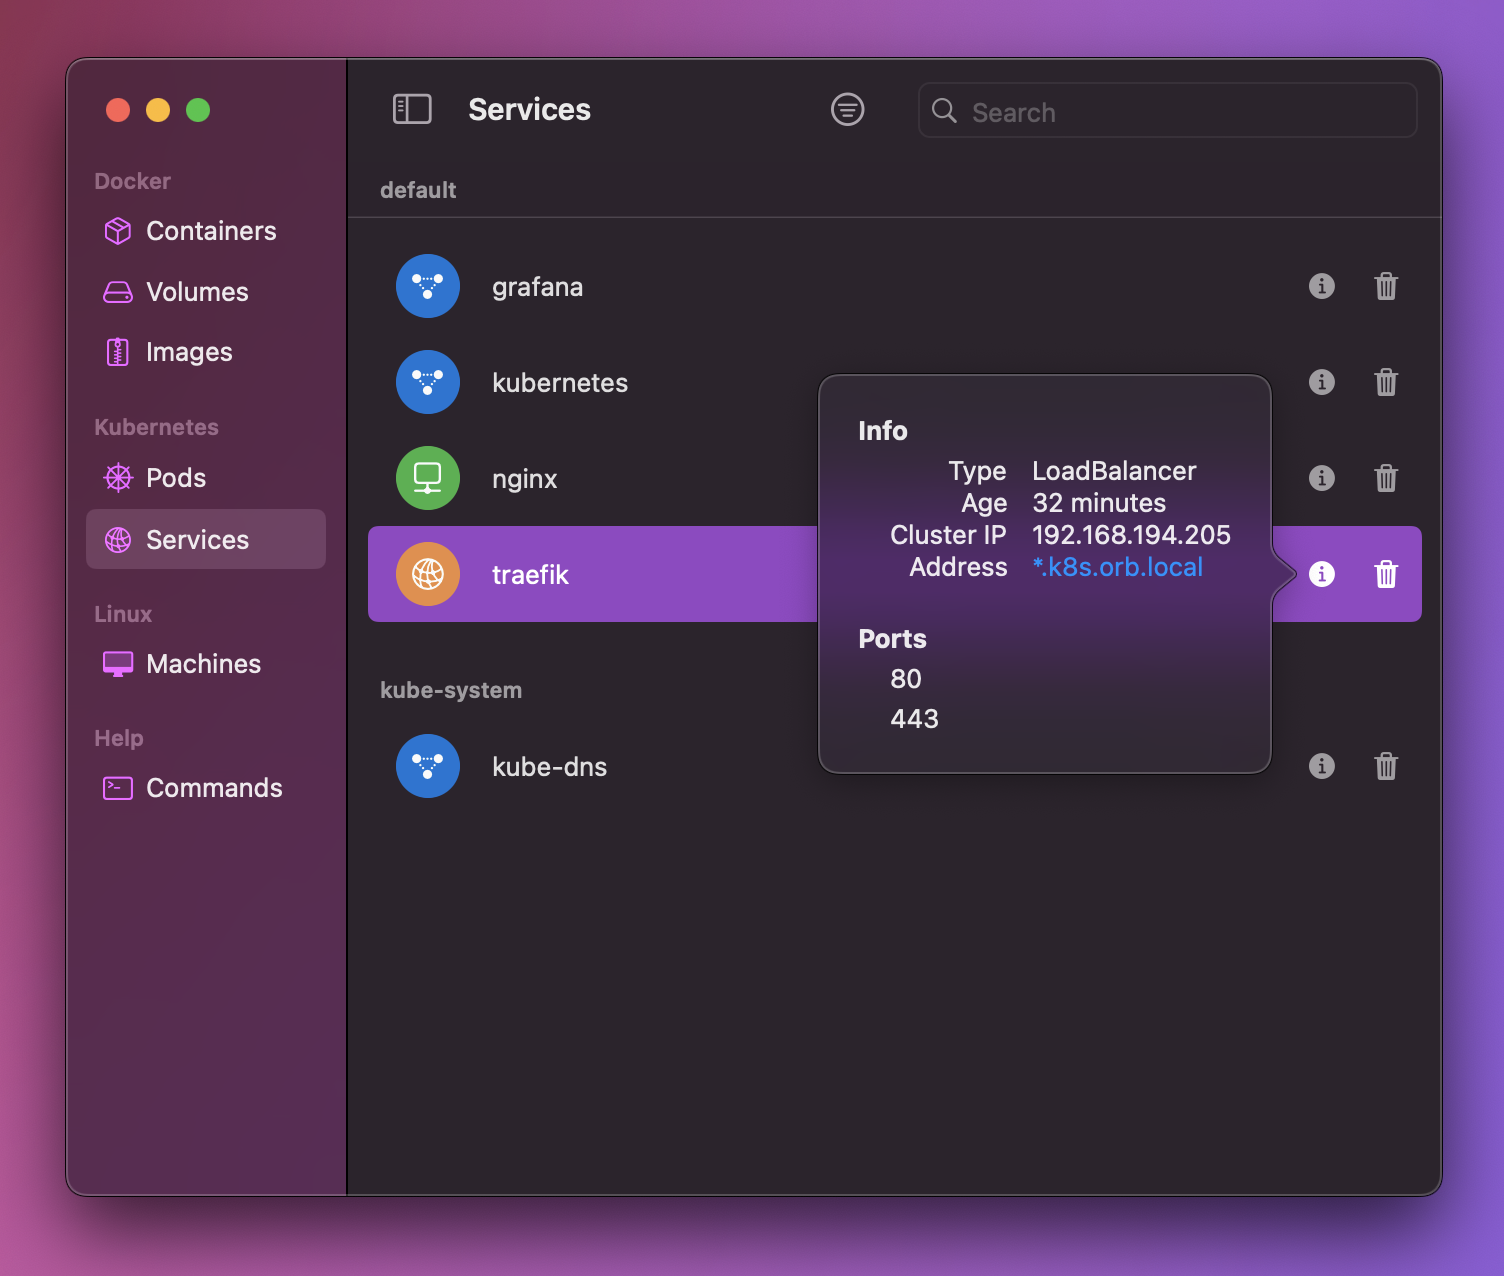
OrbStack includes a lightweight single-node Kubernetes cluster optimized for development, complete with GUI and network integration.

Container images
Kubernetes uses the same container engine as the rest of OrbStack, so built images are immediately available for use in Pods. There's no need to push images to a local registry.
Note that by default, Kubernetes always attempts to pull and update images tagged with :latest. To use local images, set a different tag (e.g. :dev or :1), or set imagePullPolicy: IfNotPresent on your pod.
Services
All Kubernetes service types are accessible directly from Mac, so port forwarding is not needed.
cluster.local
Kubernetes cluster.local domains, such as service.namespace.svc.cluster.local, are accessible from Mac.
LoadBalancer & Ingress
LoadBalancer services, such as Ingress controllers, work out of the box. Ports are accessible at *.k8s.orb.local. This is a wildcard domain, so you can use virtual hosts like example.k8s.orb.local to access services.
No Ingress controller is installed by default. To install Ingress-NGINX:
kubectl apply -f https://raw.githubusercontent.com/kubernetes/ingress-nginx/controller-v1.8.1/deploy/static/provider/cloud/deploy.yamlOr Traefik:
# Install Helm first: https://helm.sh/docs/intro/install/
helm repo add traefik https://traefik.github.io/charts
helm repo update
helm install traefik traefik/traefik
NodePort
Create a NodePort service as usual, then visit localhost:PORT:
$ kubectl create deployment nginx --image nginx
$ kubectl expose deploy/nginx --type=NodePort --port=80
$ kubectl get svc
NAME       TYPE           CLUSTER-IP        EXTERNAL-IP    PORT(S)
nginx      NodePort       192.168.194.217   <none>         80:32042/TCP

$ curl -I localhost:32042
HTTP/1.1 200 OK
Server: nginx/1.25.2
ClusterIP
ClusterIP addresses are accessible from Mac:
$ kubectl get svc
NAME                 TYPE         CLUSTER-IP        EXTERNAL-IP    PORT(S)
my-release-grafana   ClusterIP    192.168.194.245   <none>         80/TCP

$ curl -I 192.168.194.245
HTTP/1.1 302 Found
Location: /login
...
Exposing ports to LAN
For security, NodePorts and LoadBalancer ports are only accessible to localhost by default. Enable "Expose services to local network devices" in OrbStack Settings > Kubernetes to allow access from other devices on your LAN.
This helps protect your services when working on untrusted networks.
Pod IPs
In addition to services, you can also connect to pods directly by IP. This can be useful for debugging or testing.
$ kubectl get pods -o wide
NAME                     READY   STATUS    RESTARTS   IP
nginx-77b4fdf86c-fdmdn   1/1     Running   0          192.168.194.20

$ curl -I 192.168.194.20
HTTP/1.1 200 OK
Server: nginx/1.25.2
...
Command line
kubectl is included with OrbStack.
To manage the cluster from the command line:
- Start:
orb start k8s - Stop:
orb stop k8s - Restart:
orb restart k8s - Delete:
orb delete k8s
Custom clusters
To create multi-node clusters and customize other cluster features, you can use kind or k3d.
You can also use k3s or minikube to run Kubernetes in a machine.
Keep in mind that custom clusters may be less feature-complete than the OrbStack-managed cluster, and resource usage may be higher.
Custom CNIs
The default CNI is Flannel. Although replacing the CNI is not officially supported, it may be possible to install custom CNIs.
Istio
To install Istio, add the following flags to istioctl install or helm install:
--set values.cni.cniBinDir=/var/lib/rancher/k3s/data/current/bin/ --set values.cni.cniConfDir=/var/lib/rancher/k3s/agent/etc/cni/net.d